
Similar to residential AC systems, mini-splits consist of an indoor unit containing evaporator coils and a fan, and an exterior-mounted condenser/compressor unit. Mini-splits provide both heating and cooling.
Ductless Heat Pumps
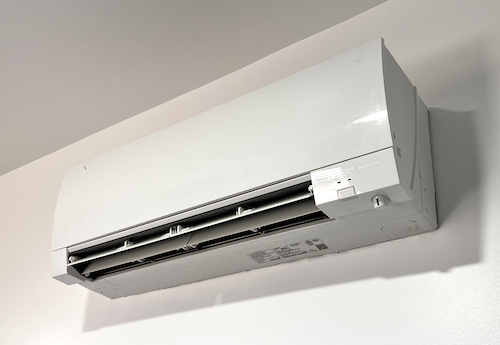
Mini-splits are small heat pumps typically mounted on a wall and used to condition the air in a single room. Because they serve only a single room, no duct is required and these systems are technically referred to as "ductless heat pumps", although "mini-splits" is the commonly recognized term. They're available in different sizes according to the size of the space they serve.
In heating mode, the exterior (condenser) unit extracts heat from outdoor air (even when its cold outside) and as with residential AC systems, a refrigerant transfers the heat to the evaporator coils in the interior head unit, which discharges warm air into the room.
In cooling mode, heat is extracted from indoor air and carried to the exterior condenser unit via the refrigerant tubes that are routed through the condenser coil. The condenser unit fan pulls air through the coil and the coil fins help dissipate heat to outside air, while the head unit discharges cool air into the room.
Exterior Condenser Unit Inspection
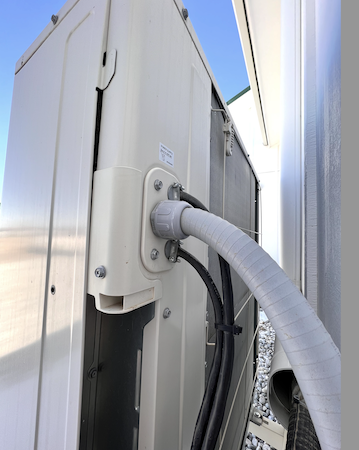
Mounting
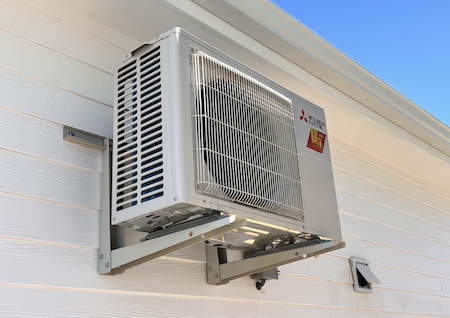
Report info: Photograph the unit and identify its location.
Condensers may be wall- or pad-mounted. Check to make sure the mount is secure and the unit is level.
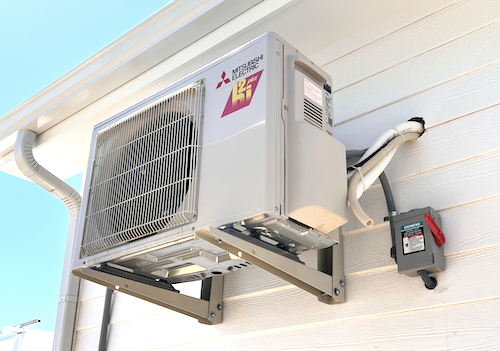
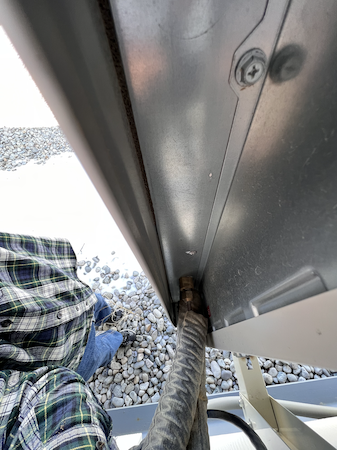
Check to see if the condensation discharge tube discharges condensation onto the electrical disconnect!
The wall penetration should be adequately sealed.
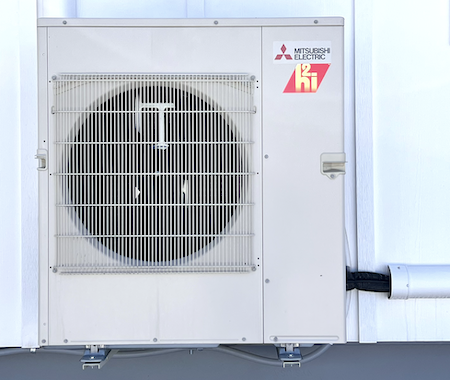
Cabinet and Coils
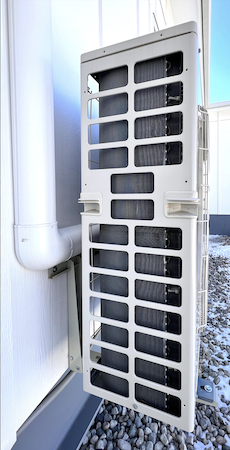
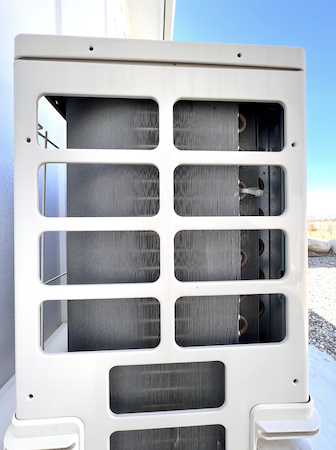
The thickness of the coil will vary with the size of the unit.
Looking at the back, check the condition of the electrical connections, the refrigerant lines, their insulation condition, and their connection to the unit. Look for coil fins that have been damaged during installation or by wildlife.
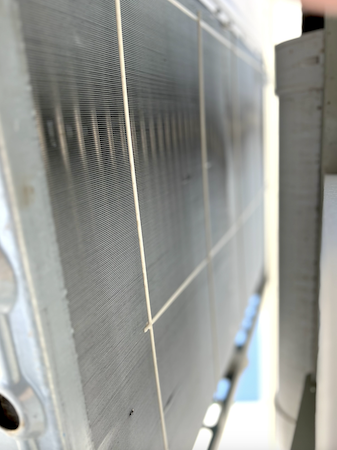
In the photo above, the refrigerant tubes that loop through the coil are visible behind the heat dissipation fins.
- Look at the exterior for damage. Wall-mounted units are less subject to common sources of damage like impact from lawn mowers or dog urine, but may be damaged during installation or by missiles (thrown or blown objects).
- Look at the data plate.
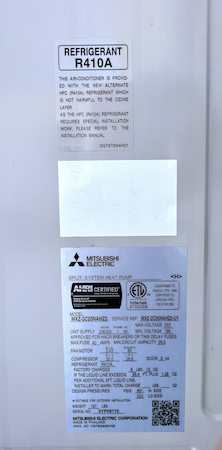
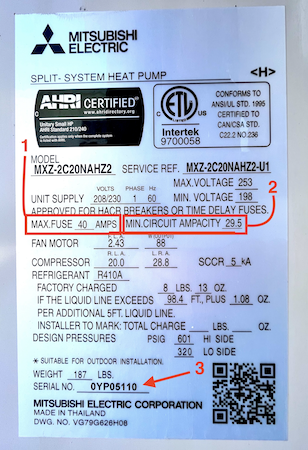
In the photo above you see:
- The maximum allowable fuse/breaker amperage: 40 amps
2. The minimum conductor gauge for providing power to the unit: 29.5 amps or #10. Conductors should be inside conduit, or if they're adequately protected from damage, should be a conductor rated for exposure to weather, like UF wiring.
3. The serial number. On the Building Intelligence Center website, you may be able to look up the date of manufacture using the serial number. I didn't find it in this instance but it does work for many other HVAC equipment by many manufacturers. You can also try the QR code which in this case didn't work either. Recording the serial number is always a good idea because unscrupulous sellers have been known to replace newer HVAC equipment with older after the inspection has been completed. Taking a photo of the data plate and recording the serial number provides proof of what was there during the inspection.
Report info: Identify deficiencies and include photos as appropriate.
Electrical Disconnect
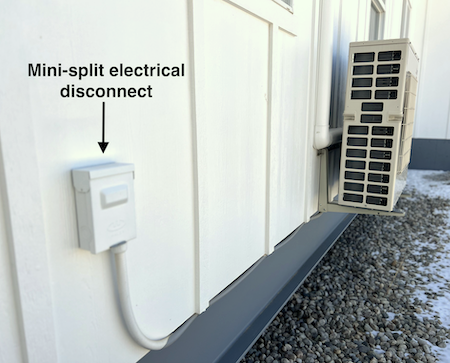
The disconnect should be located within sight of the condenser unit. It may also be located in the service- or a sub- panel.
Report info: Identify the disconnect location in the report!
Head (interior) Unit
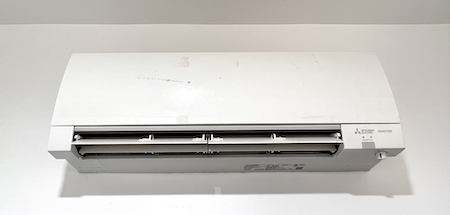
Report info: Photograph and document the location and attachment.
Most of these are controlled by remotes, and finding it can be a challenge!
Report info:
- Identify any visible damage or deterioration.
- Activate the unit in the desired mode (heating or cooling) and verify adequate air discharge.
- Comment on any condensation leakage.
Watch a 1.5 minute video on how to check the filters.
When you're finished: return the thermostat to its original setting!